If you commit to improvement, you can be a high-performance shooter
From Police1.com
If you want to take your firearms skills to the next level, it’s time to make a plan and commit yourself to improve. Dedication and self-discipline are key to improvement, but you also need a roadmap to help guide you along the journey. A great place to start is with the Police1 30-day challenge to improve police firearms skills. If you’re looking for additional specific guidance and drills, I have some suggestions.
GET A SHOT TIMER
You need a way to objectively measure your performance. A shot timer can help track progress over time, which is critical if you’re serious about improving. Use the shot timer and a journal to track your performance on some standard drills. Record your draw and reload times, split times (time between shots) and target transition times for each drill. This will help you focus on the skills you need to work on to make the most improvement.
If you shop around, a decent shot timer can be found starting around $100. I like shot timers that allow the user to set multiple par times. This is convenient for dry practice and more complex drills. The more features the shot timer includes, the more expensive and complicated it will be.
LIVE FIRE PRACTICE DRILLS
Live fire practice is your proving ground to determine the skills you need to focus on improving. It also gives you an opportunity to measure your progress over time.
When you’re working on these drills, keep track of your split times and overall performance. Repeat these drills several times and record it in your journal. Examine the different strings of fire and look for patterns. Anyone can be lucky on one or two strings of fire, but consistent improvement for three or more runs shows a pattern.
6 round rapid-fire test – from holstered – 5 second par time
A. 5 yards (2 repetitions)
B. 10 yards (2 repetitions)
C. 15 yards (2 repetitions)
D. Goal: Keep all shots centered on target looking for a centered group without vertical or horizontal spread.
E. Note: Vertical or horizontal spread indicates a shooting platform or trigger control issue.
BFM Drill – 7 yds – adapted from Ken Hackathorn
A. Set three paper targets 1 yard apart
B. Load a magazine of 8 rounds with a full second magazine
C. On the timer, draw and engage center target 6 rounds to the body (Bill Drill)
D. Transition to the left target and fire 2 rounds to the head, perform an empty reload, and fire four 4 rounds to the body (F.A.S.T. Drill)
E. Transition to the right target and fire 2 rounds to the body and 1 round to the head
F. Scored total time + penalties:
- Any rounds outside center area = +1 sec
- Any rounds off target = DQ
- A = <11 seconds
- B = 11-14 seconds
- C = 14-17 seconds
- D = 17-20 seconds
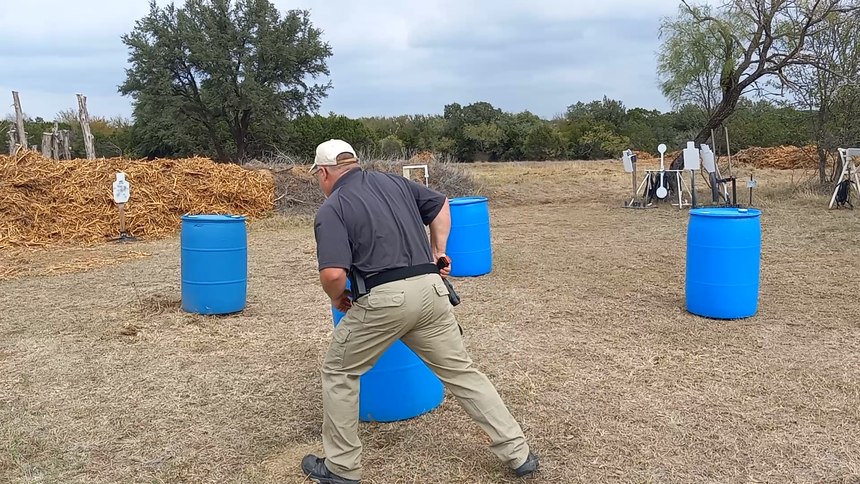
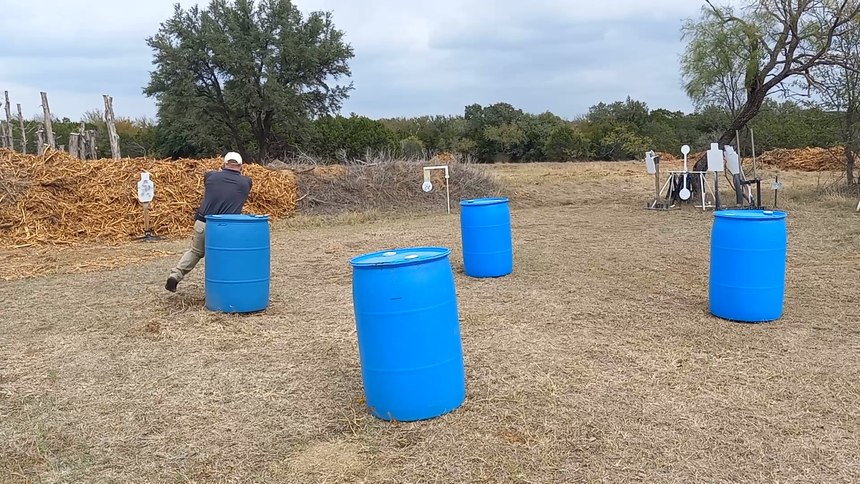
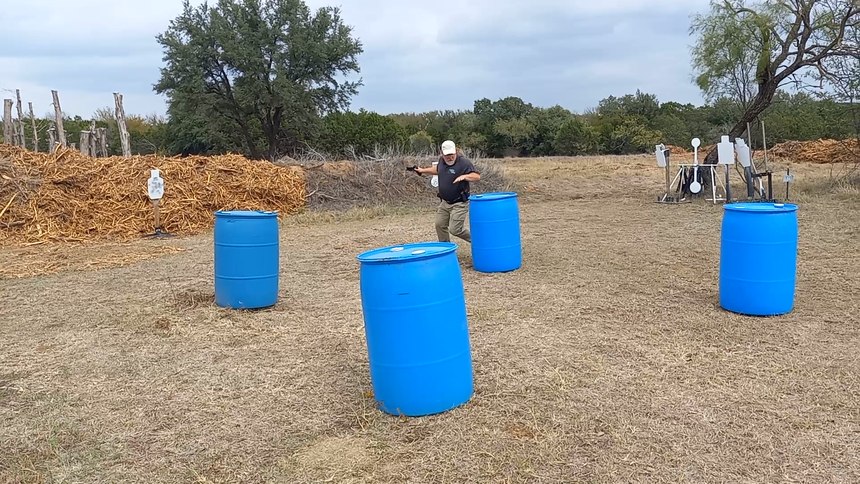
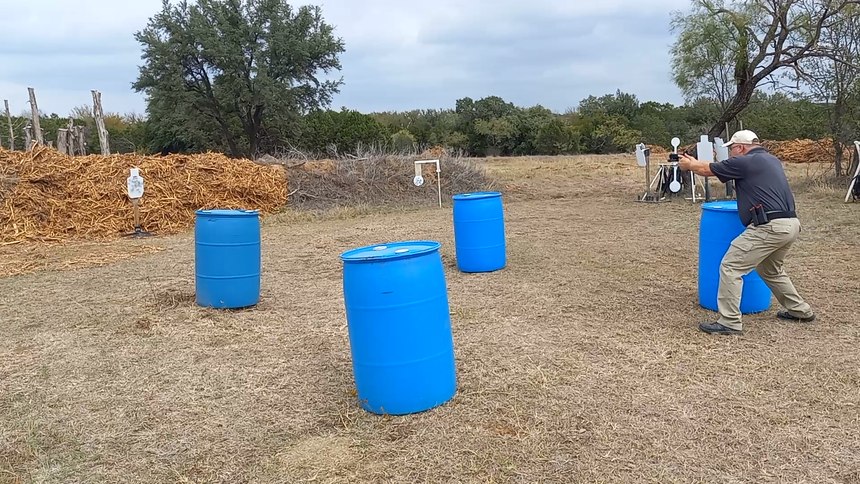
Box Drill
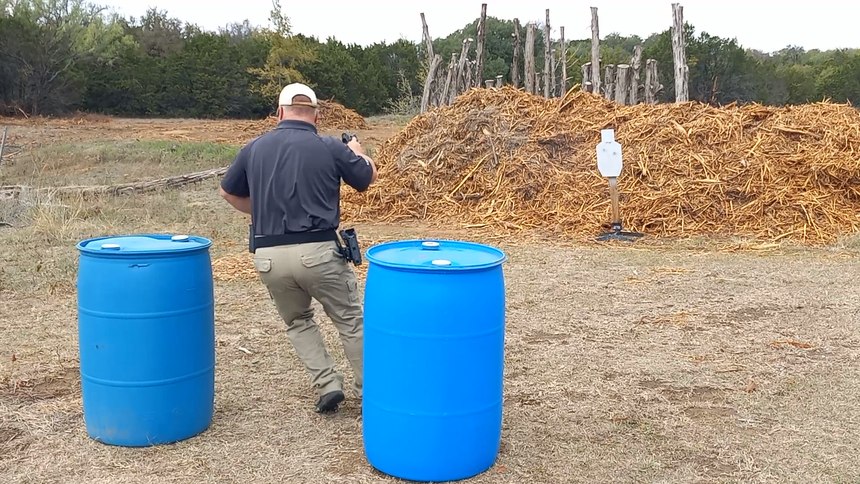
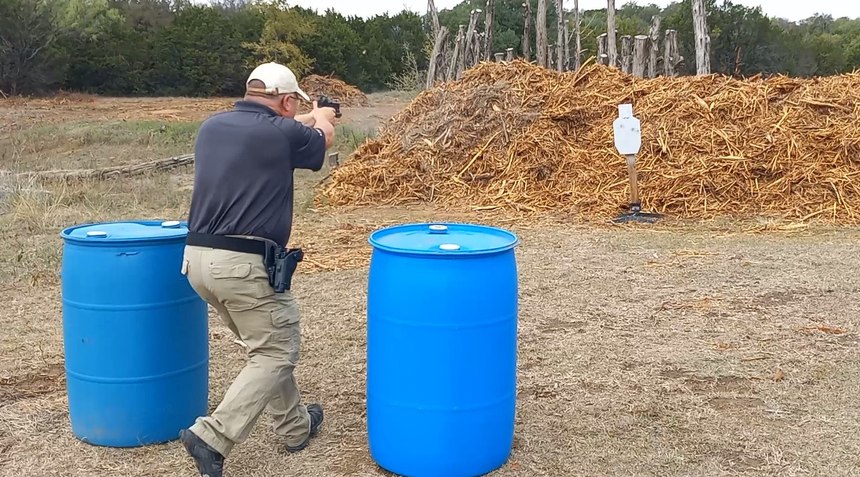
A. On timer, dynamic movement forward around barrel or cone – 3 hits
B. Dynamic movement right around barrel or cone – 3 hits
C. Dynamic movement back around barrel or cone – 3 hits
D. Dynamic movement left around barrel or cone – 3 hits
E. Repeat in opposite direction
F. Note: Watch your muzzle direction if on a public range or a range with a 180° rule.
Scrambler Drill – adapted from Patrick McNamara
A. Set two vision barriers 10 yards apart
B. Starting in the middle, on timer, move dynamically to one side and fire 1 round
C. Move dynamically to the other side and fire 1 round
D. Repeat for total of 10 hits (works best on steel)
E. Option: download magazines to force reloads
Crazy 8 – adapted from Robert Vogel
A. Set two cones or barrels 1 yard apart
B. On timer, move around the barrels in a figure 8
C. Two hits while moving forward
D. Drill ends at 12 hits
E. Note: Watch your muzzle direction if on a public range or a range with a 180° rule.
DRY PRACTICE DRILLS
If you’re using a shot timer and keeping a journal with your split times and overall results, you should have a good idea of what you need to practice to take your skills to the next level. Dry practice is the best way to improve your performance because without recoil masking problems, you can more easily recognize your own mistakes. Five minutes of quality dry practice time three to four times per week will greatly improve skills. Dry practice is about quality, not quantity.
Dry practice safety rules
- Do not use an interior wall that a bullet could pass through. An interior wall with an outer brick wall on the opposite side or a stone fireplace works well.
- Concealable body armor works well as a backstop for dry practice.
- Never, under any circumstances whatsoever, target anything you could possibly destroy. This includes people, pets, the TV set, or anything else a bullet could destroy.
- If there is nothing in your house at which you can safely target, do not practice at home. Do not dry practice at something unsafe because you “know the gun is unloaded.”
- Do not practice if you are tired, distracted, or your mind is on anything other than your practice time.
- Unload your firearm and keep all live ammunition out of your training room.
- Check to make sure your firearm is unloaded before practice. Check again.
Here are some of the standard drills I use in my own practice regimen. Mix and match these drills based on the time you have for practice and the skills you need to address. Find a room with at least 5-yards distance from a wall. I use several 2”x 2” sticky notes hung on the wall as my targets. The listed par times are what I’m currently working on from a Level III duty holster. Adjust your own part times according to your skill level.
Draw and one trigger press
A. One target
B. 0.9 second par time from duty holster or concealment
Draw and two trigger presses
A. One target
B. 1.1 second par time from duty holster or concealment
Draw and target transitions – four targets
A. Draw and two trigger presses on target #1 – 1.1 second par time
B. Transition to target #2, two trigger presses – 0.4 second par time
C. Transition to target #3, two trigger presses – 0.4 second par time
D. Transition to target #4, two trigger presses – 0.4 second par time
E. Transition back to target #3, two trigger presses – 0.4 second par time
F. Transition back to target #2, two trigger presses – 0.4 second par time
G. Transition to target #1, two trigger presses – 0.4 second par time
H. Total time – 3.5 seconds
Reloads
A. Set up empty reload
- Sighted in, on timer, reload, two trigger presses on Target #1
- 1.7 second par time
B. Sighted in, on timer, reload, two trigger presses on Target #1
- Reload, two trigger presses on Target #2
- 3.5 second par time
C. Traditional tactical reload – no par time
D. Reload with retention – no par time
Movement Drills
A. Moving forward (25 yards to 7 yards)
B. Moving to the right/left (start at 10-15 yards)
C. Box Drill
- Dynamic movement forward around barrel or cone – 3 trigger presses
- Dynamic movement right around barrel or cone – 3 trigger presses
- Dynamic movement back around barrel or cone – 3 trigger presses
- Dynamic movement left around barrel or cone – 3 trigger presses
- Repeat in opposite direction
NEXT LEVEL SKILLS
There’s no secret to developing your shooting skills. If you want to be better, it takes a plan, dedication and self-discipline to maintain the commitment to training. If you commit to improvement, you can be a high-performance shooter. I hope to see you on the range!


