A properly maintained patrol rifle with good magazines and quality ammunition will rarely malfunction, which is exactly why you should set up malfunctions in training
By Todd Fletcher for Police1.com
In Part 1 of this series, I addressed the most common patrol rifle malfunction, the failure to fire. In other words, the rifle goes “click” instead of “bang”. This is usually the result of the magazine not being fully seated and locked in. The other malfunction addressed was the standard failure to eject or stovepipe. If either of these occur, the quickest remediation is the standard immediate action drill:
- TAP: Firmly strike the base of the magazine with the support hand to ensure it is fully seated.
- RACK: Rack the slide vigorously to ensure the cartridge is ejected.
- READY: Ready to fire if the situation still calls for gunfire.
This article addresses the methodology we teach in our classes to clear more complex patrol rifle malfunctions. This isn’t the only way to clear these malfunctions, but this methodology is effective and easy to set up and practice at home and on the range. Since more officer involved shootings occur in low or altered light conditions, techniques that rely on being able to visually diagnose the problem should be reconsidered. This method doesn’t rely on seeing the malfunction so we don’t have to waste precious time trying to visually diagnose the problem. Instead, we can focus on solving the problem.
Before we go any further, let’s review some dry fire safety rules. If you chose dry practice of any patrol rifle malfunction drills with dummy rounds, verify the rounds you will be using are in fact “dummy” rounds. Brightly colored training rounds are preferred with bright orange tip and orange primer insert. Visually and physically verify your rifle is unloaded and double check the magazine well and chamber. Place any and all live ammunition in a separate room inside a safe storage container.

The significant amount of space inside the upper receiver of a patrol rifle can fill with extra rounds creating a variety of complex malfunctions. Other than the failure to unlock, one methodology will solve each of these issues.
Complex carbine malfunction drill
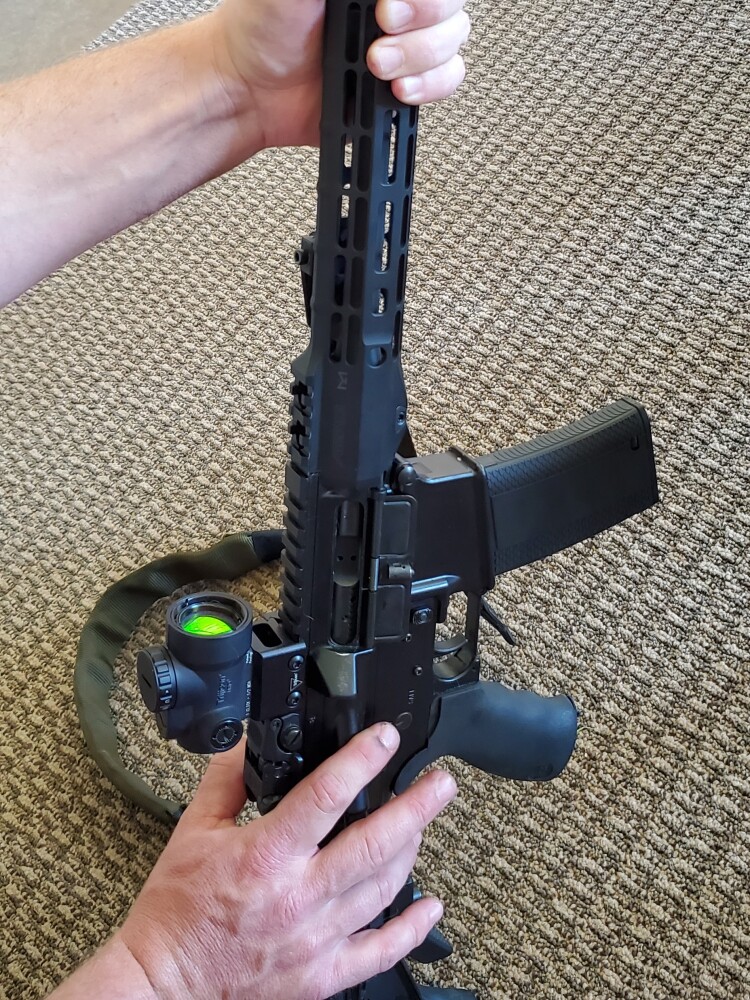
Rip the magazine out aggressively.
Retain/discard: Time and context of situation are critical factors. A military load out may justify discarding the magazine, but someone possessing one or two magazines will have limited resources. In this case, retain the magazine.
Pull and hold: Pull the charging handle to the rear and hold during the next step.
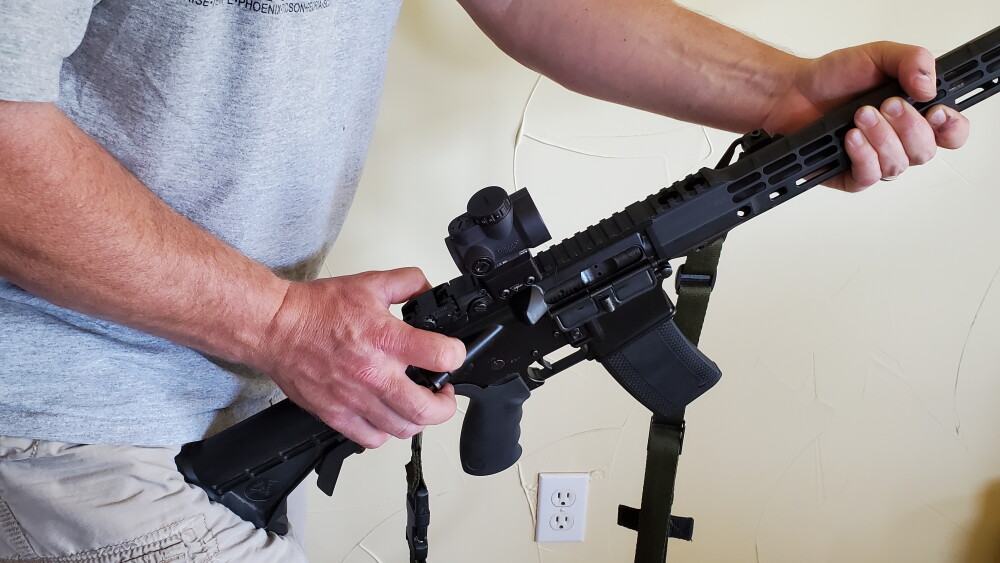
Insert and digitally manipulate: While holding charging handle to the rear, insert your fingers and manipulate stuck rounds out of chamber, physically feel with tip of finger that chamber is clear. This may take some effort.
Release the charging handle. If the bolt doesn’t move forward and the charging handle feels stuck, you have a triple feed. Hold the bolt to the rear with a finger and slam the charging handle forward. Remember, the charging handle and bolt run independently and won’t pinch your finger.
Reload the carbine with a fresh magazine.
Rack the charging handle to the rear and release chambering a fresh round.
Re-assess the target and environment.
Let’s examine some complex patrol rifle malfunctions and how to set them up in training.
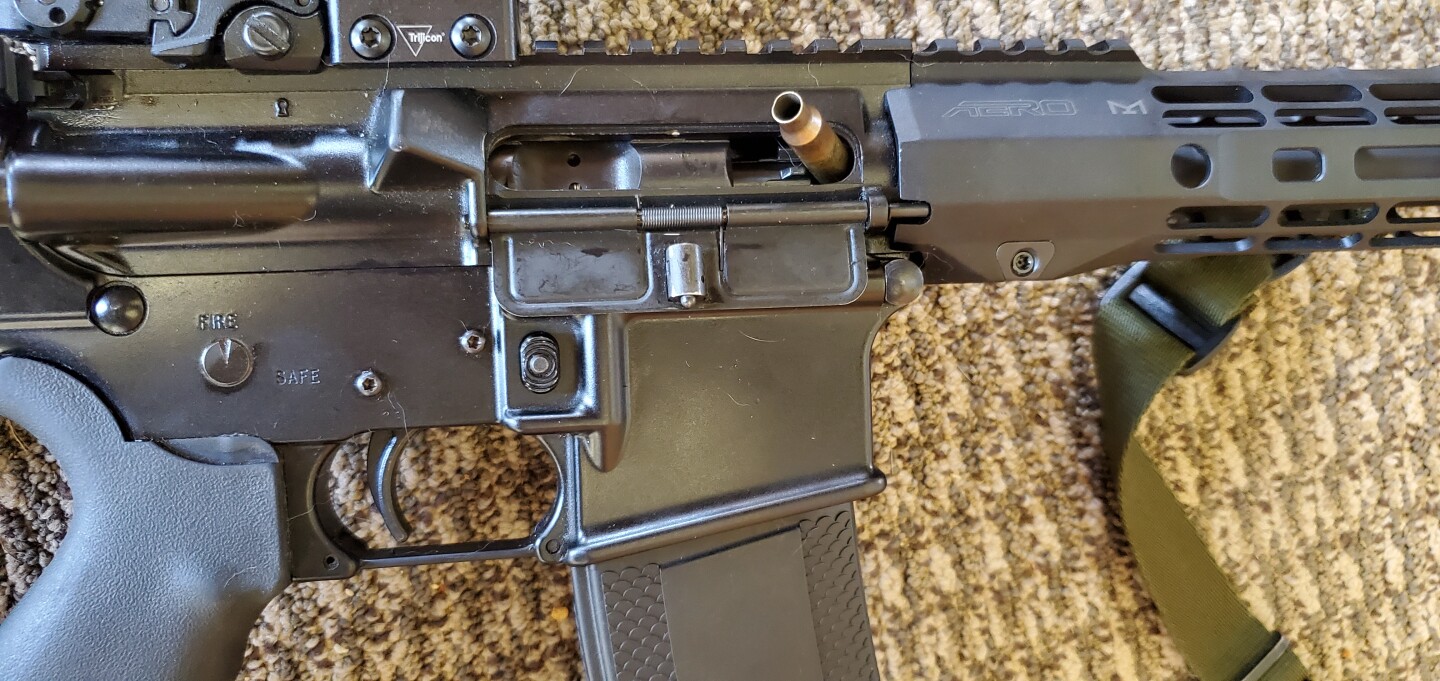
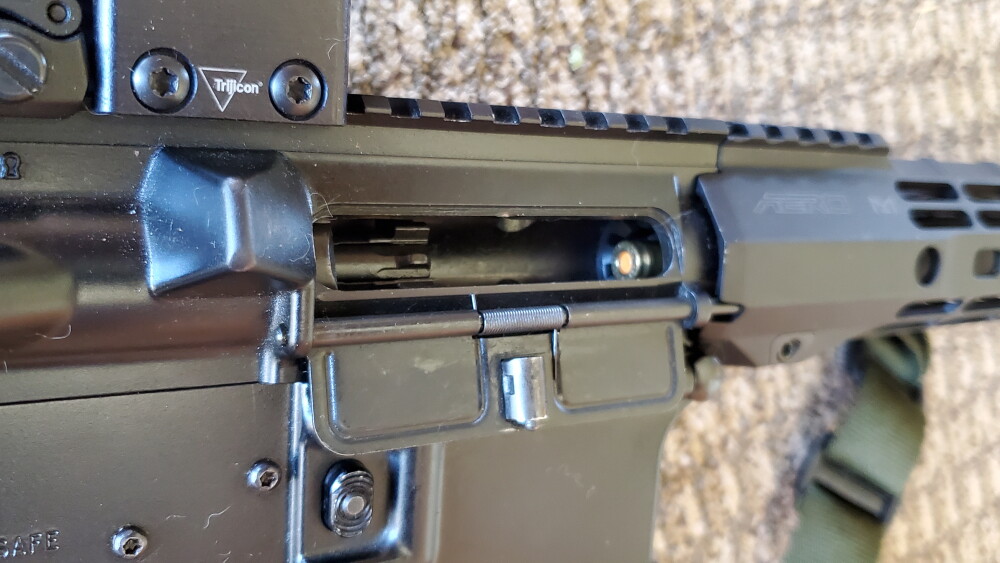
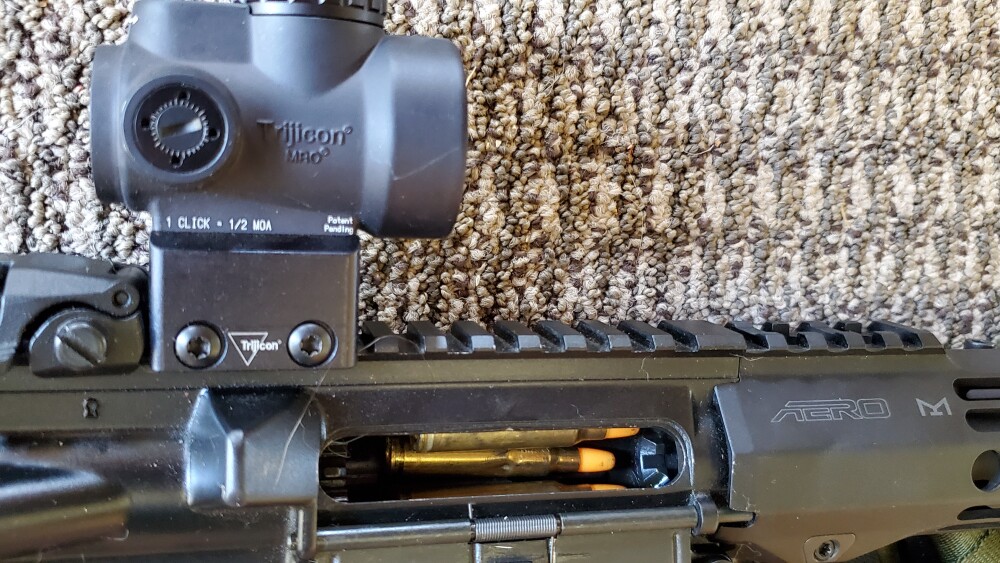
Deep failure to eject (stovepipe)
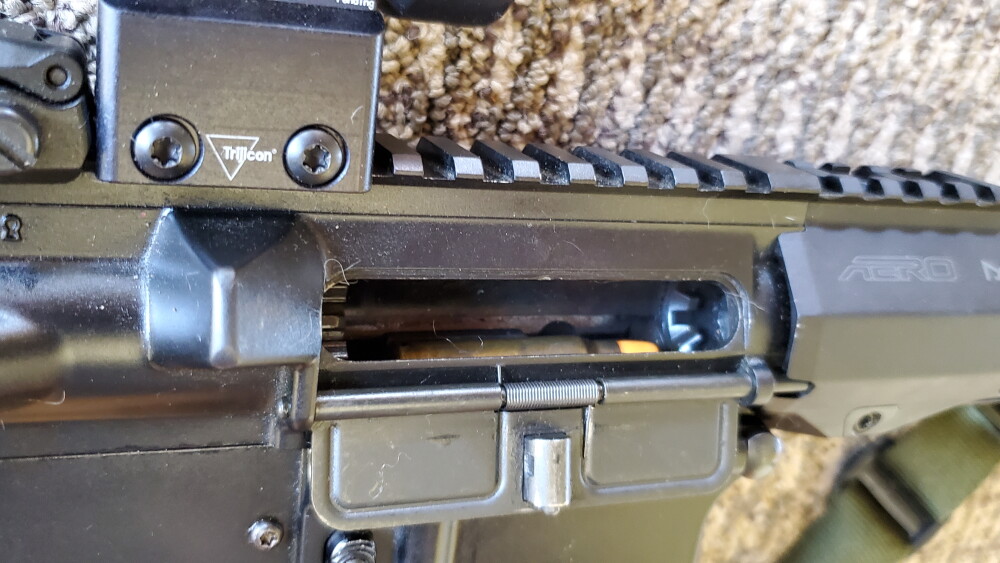
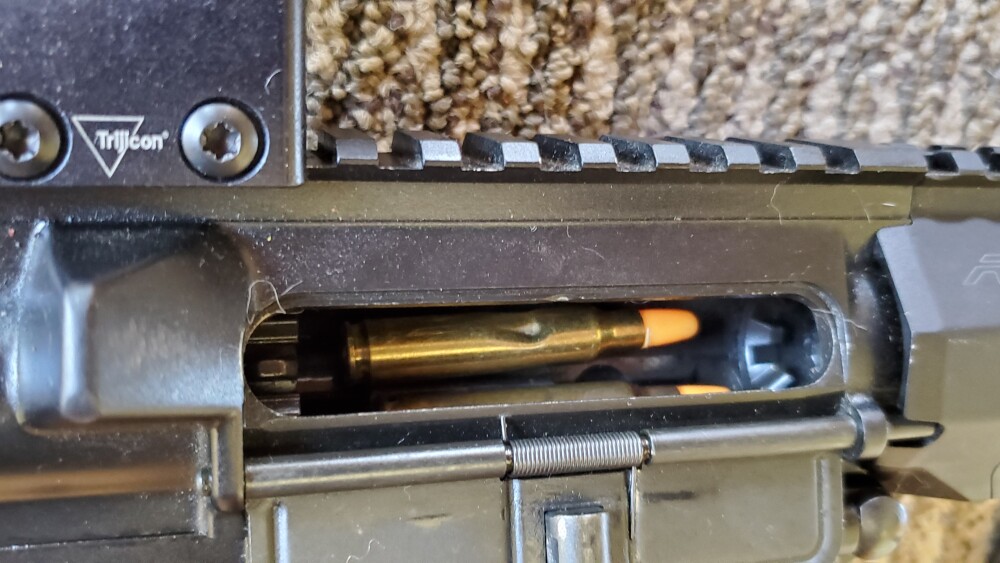
With the deep failure to eject, the bolt has reciprocated and has caught the previously spent case between the bolt face and front vertical edge of the ejection port as it was being ejected. Tap, Rack/RIP, Ready may work to remediate this malfunction depending upon the make, cleanliness of the firearm, and severity of the malfunction. The deep failure to eject can be caused by blocking the ejection port due to operator error or crowding cover, a dirty weapon, a weak or broken ejector, or a weak extractor spring.
Setting up the deep failure to eject:
At home
- Verify you are using only dummy rounds!
- Rifle, dummy rounds, and a magazine.
- With the bolt forward on an empty chamber, insert magazine loaded with dummy round.
- Pull charging handle back far enough to place the spent casing into ejection port between bolt face and front vertical surface of the ejection port.
On the range
- Rifle, piece of spent brass, and a magazine with live rounds.
- With the bolt forward, insert magazine loaded with live rounds.
- Pull charging handle back far enough to place spent casing into ejection port between bolt face and front vertical edge of ejection port.
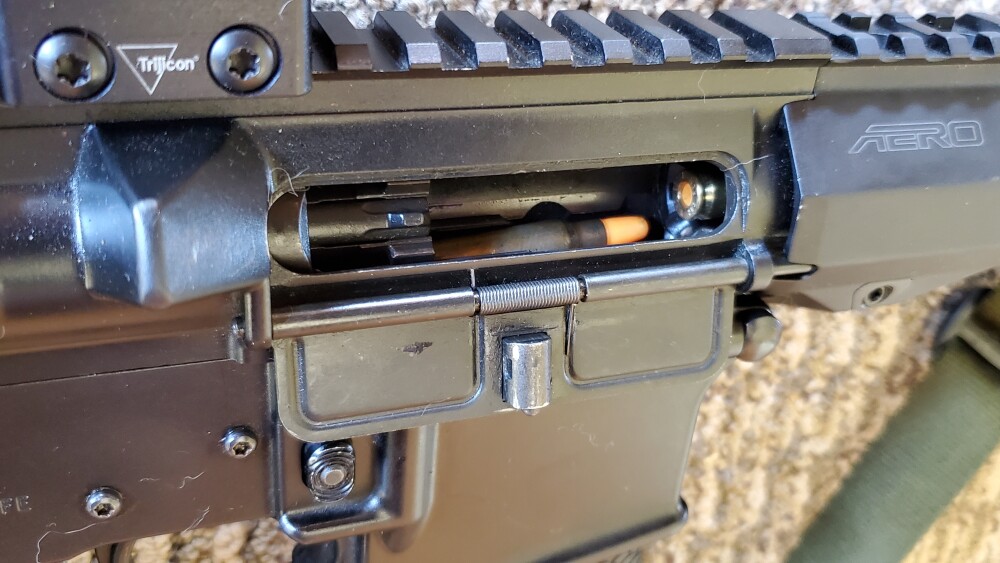
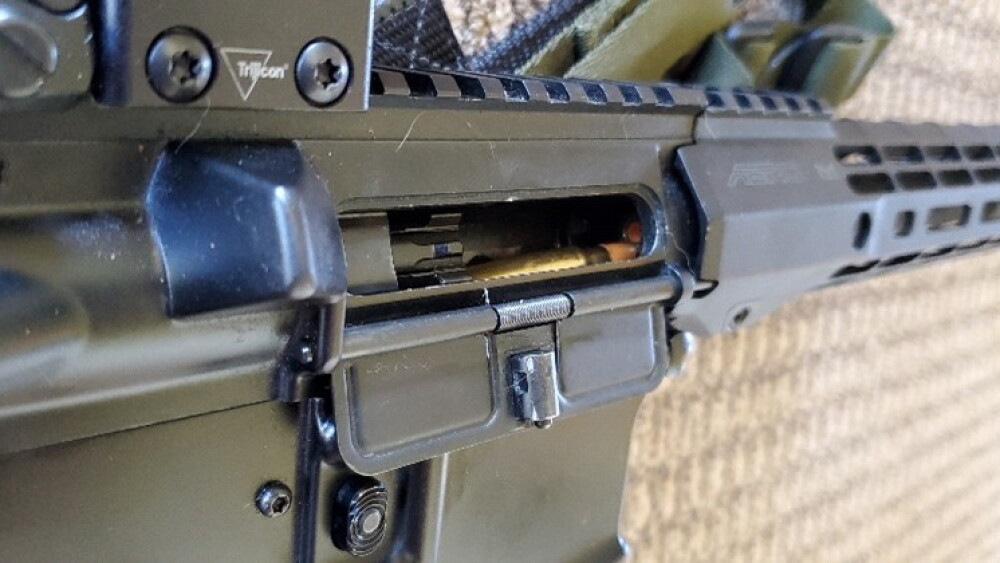
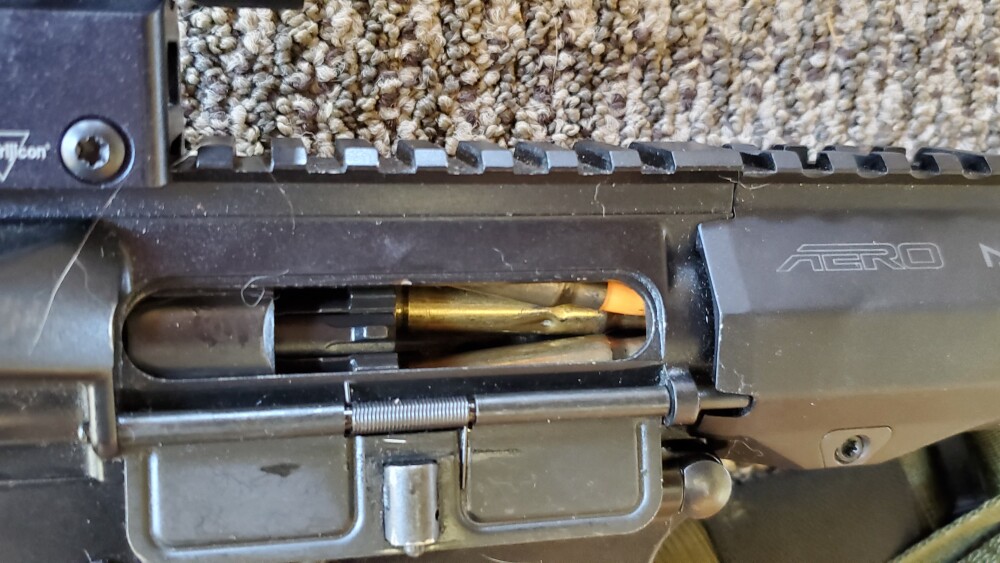
Failure to extract (linear or inline malfunction)
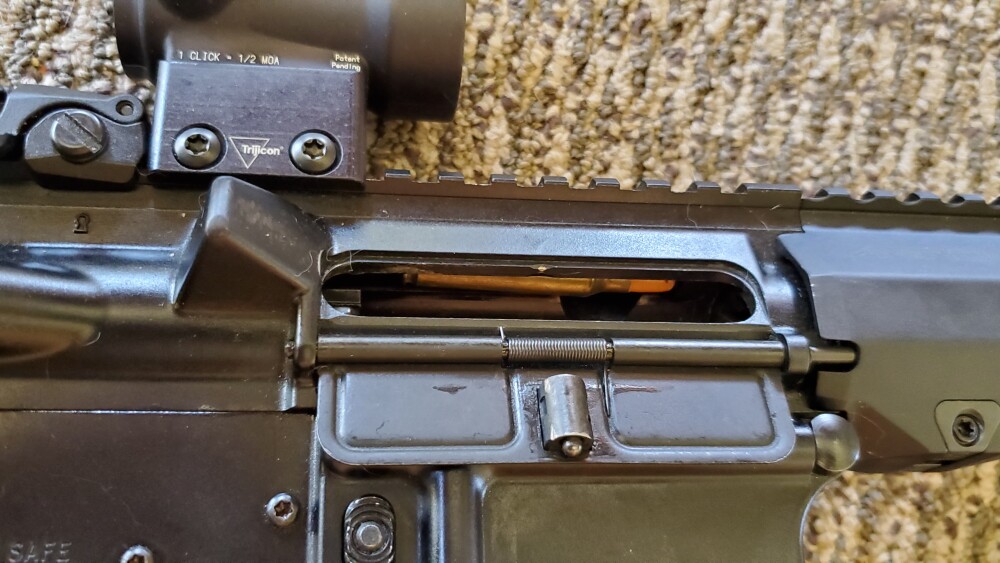
With the failure to extract, a round has been fired and the case remains in the chamber. The bolt and carrier have cycled rearward cocking the hammer. Then, the bolt and carrier move forward stripping the next round off the top of the magazine and jam that round up behind the casing stuck in the chamber in a line (linear malfunction). This is commonly, and inaccurately, called a double feed. This failure to extract can be caused by a dirty weapon, blocked ejection port, broken case rim, or a broken extractor.
Setting up the failure to extract:
At home
- Verify you are using only dummy rounds!
- Rifle, 2 dummy rounds, and a magazine.
- With the bolt locked back, insert a dummy round into the chamber.
- Insert magazine with dummy round and release bolt forward.
On the range
- Rifle, 1 dummy round and a magazine with live rounds
- With the bolt locked back insert the dummy round into the chamber. WARNING! Using a live round can cause the firearm to discharge. If the tip of the round being fed from the magazine impacts the primer of a live round in the chamber, and the bolt is dropped hard, it may result in an open breach detonation!
- Insert magazine with live rounds and release bolt forward.
Double feed
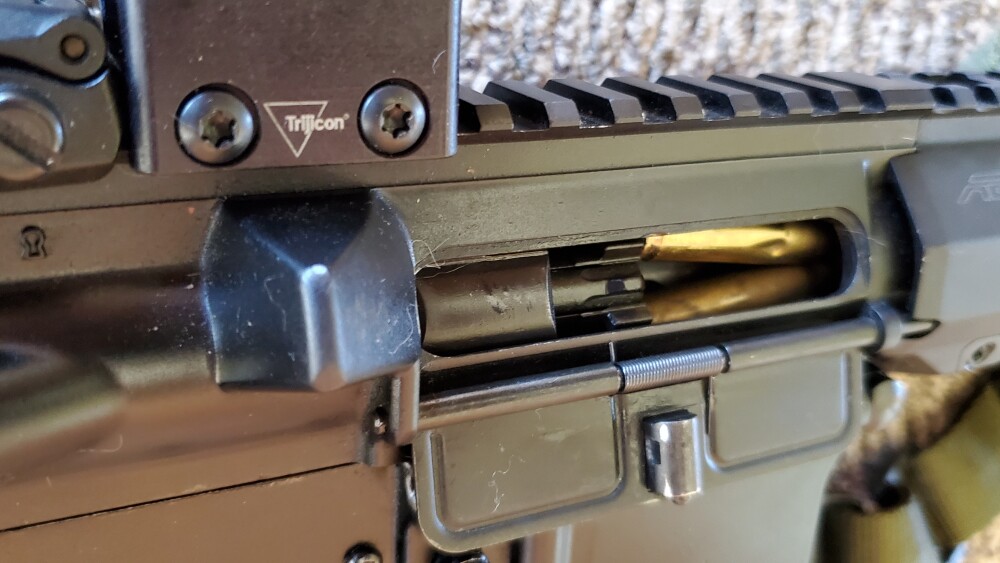
With a true double feed, two rounds have come out of the magazine and are being forced into the chamber by the bolt in a “V” configuration. A double feed can be caused by a dirty weapon, a bad magazine, or overloading magazines.
Setting up the double feed:
At home
- Verify you are using only dummy rounds!
- Rifle, 2 dummy rounds, and a magazine.
- With the bolt locked back, insert a magazine with dummy round into the magazine well.
- Manually drop another dummy round into the ejection port.
- Release bolt forward.
On the range
- Rifle, 1 live round, and a magazine with live rounds.
- With the bolt locked back, insert the magazine with live rounds into the magazine well.
- Manually drop another live round into the ejection port.
- Release bolt forward.
Triple feed (charging handle impingement)
The triple feed occurs when a spent case becomes lodged in the carrier key channel above the bolt carrier, a live round is in the chamber, and another round is attempting to be fed into the chamber. This malfunction is commonly caused by the operator attempting to clear a failure to eject and rolls the carbine ejection port up then riding the charging handle forward or blocking the ejection port. These errors cause the case to fall into the receiver or remain in the receiver where it gets kicked up into the carrier key channel by the bolt attempting to feed a new round. The result is a spent case above the bolt carrier that impinges the charging handle causing a double feed into the chamber. Refer to the note above to clear this with one additional step.
Setting up the triple feed:

At home
- Verify you are using only dummy rounds!
- Rifle, 3 dummy rounds, and a magazine.
- With the bolt locked back, manually insert a dummy round into the chamber and roll the carbine magazine well up so the dummy round falls into carrier key channel.
- Insert magazine with dummy round.
- Manually insert another round into the receiver.
- Release the bolt forward.
On the range
- Rifle, 1 live round, 1 spent case, and a magazine with live rounds.
- With the bolt locked back, manually insert a spent case into the chamber and roll the carbine magazine well up until the spent casing rolls into carrier key channel.
- Insert magazine loaded with live rounds.
- Manually insert another live round into the receiver.
- Release the bolt forward.
Failure to unlock
This occurs when the bolt will not unlock from the chamber. The bolt will be completely forward and closed. Failure to unlock can be caused by a dirty weapon, bulged case, worn locking lugs, or out-of-spec ammunition. I haven’t figured out a way to replicate this malfunction for training purposes, but in high round count courses, it is not uncommon to see.
One method to fix this malfunction is to attempt to put weapon on safe, collapse the stock, take a knee, and elevate muzzle 45 degrees, depress the charging handle release while robustly striking the butt stock against the ground or floor. The inertia of the bolt carrier may unlock the bolt. This method is commonly referred to as “mortaring.”
Caution must be exercised if using this method since it can damage the stock of the firearm or bend the buffer tube rendering it inoperable. This technique also limits your mobility when assuming a kneeling position which may not be recommended depending on context.
Another option is to remain standing, attempt to place the rifle on safe, step forward with one leg, angle the carbine away from your body, tense the muscles of that leg, and depress the charging handle release while smartly striking the butt stock against the inner surface of your tensed thigh muscle.
Utilizing this method, it is likely you will strike the stock hard enough to unlock the bolt but not hard enough to damage the firearm. This method generates enough force to clear the malfunction and allows the operator to move rapidly if necessary.
Conclusion
Depending on context, the best response to a complex malfunction may be to transition to your handgun. In training, if you set up the complex malfunction and practice fixing it, you can usually clear it in 4-8 seconds. When a complex malfunction is unexpected, it will likely take twice as long to fix it. Either move to cover and fix the gun, or transition to your handgun and continue to fight. The good news is a properly maintained patrol rifle with good magazines and quality ammunition will rarely malfunction, which is exactly why you should set up malfunctions in training.

Todd Fletcher is the owner and lead instructor for Combative Firearms Training, LLC providing training for law enforcement firearms instructors from coast to coast. He has over 25 years of training experience as a firearms and defensive tactics instructor. He retired after more than 25 years as a full-time police officer and over 31 years of law enforcement experience.
Todd is a member of the International Defensive Pistol Association (IDPA) and the United States Practical Shooting Association (USPSA). He is a member of the International Law Enforcement Educators and Trainers Association (ILEETA), and was selected as the 2022 ILEETA Trainer-of-the-Year. He is also a member of the International Association of Law Enforcement Firearms Instructors (IALEFI) and won the 2023 IALEFI Top Gun Award. He can be reached at Todd@CombativeFirearms.com.


